Back to Blog


Monica Jansen
Aug 19, 2026
How To Set Up an Encrypted Email: Complete Guide
In an age when cyber threats are ever-growing in complexity, securing your email communications is paramount.
If you don’t take the necessary precautions, you risk exposing all your sensitive information and communications to other parties.
Luckily, protecting your email and encrypting it isn’t that difficult—if you know the right steps to take.
We’ll tell you all about them below, so follow along!
What Is Email Encryption?
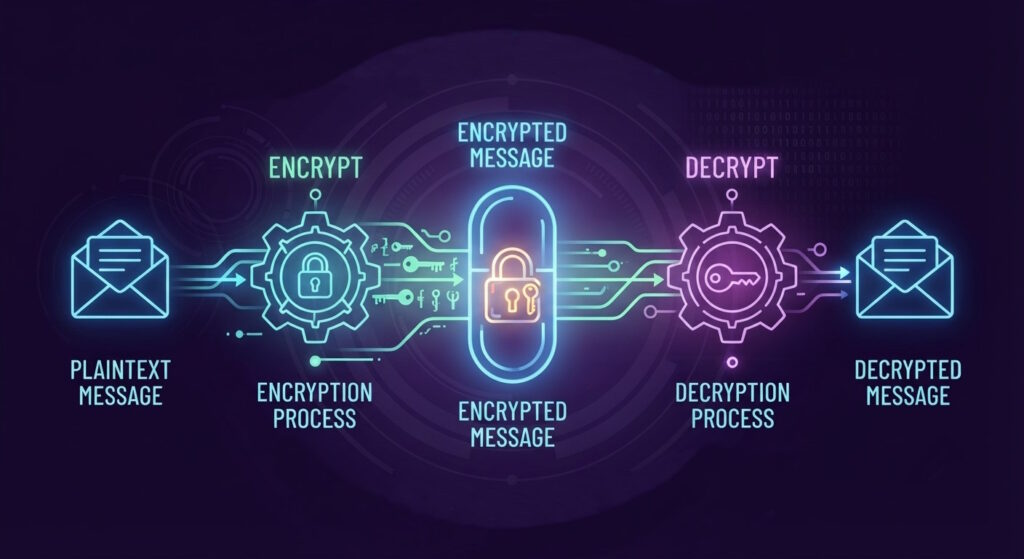
Put in the simplest of terms, email encryption is a process that scrambles email content into random ciphertext.
In other words, the content you send is turned into coded text that can be deciphered only using a unique key.
The intended recipient is the only one with this key, meaning that they alone can access and read the email.
As a result, even if a malicious agent were to intercept the message, the data within it would be useless to them.
That would, in turn, mean that the data remains secure and can in no way be used against you.
How Does Encryption Really Work?
When it comes to email encryption, there are two strategies that companies employ.
- In-transit encryption (also known as TLS/SSL/STARTTLS)
- End-to-end email encryption (also known as PGP or S/MIME)
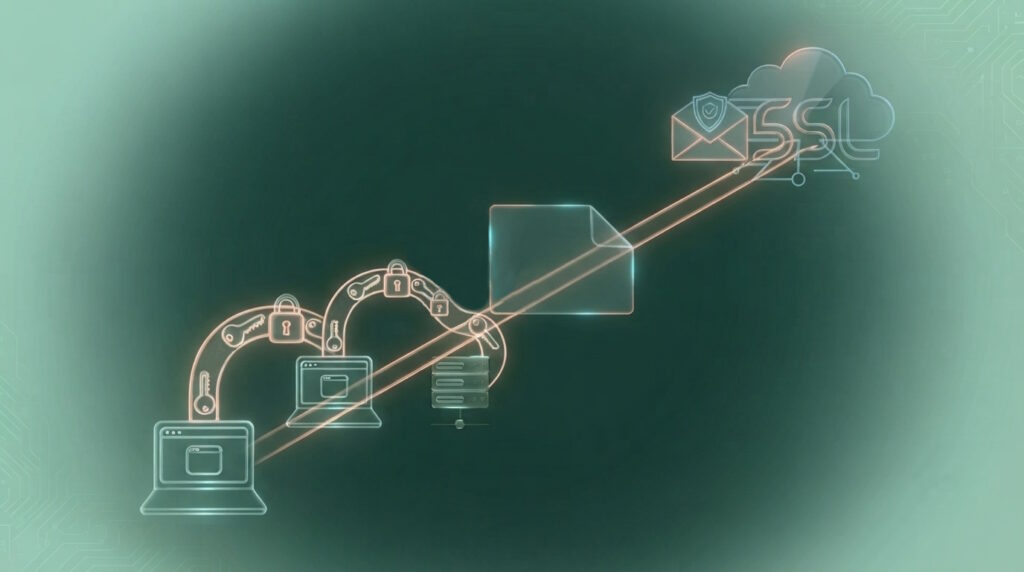
TLS stands for Transport Layer Security, and it protects email content as it travels from point A to point B. A reliable protection method, it is used by email juggernauts such as Gmail and Yahoo.
You should note that this type of encryption secures the channel through which an email travels.
Therefore, it doesn’t encrypt the email itself.
On the other end of the spectrum, there is end-to-end encryption. It uses a pair of digital keys, one of which is private (yours) and the other public (the recipient’s).
Your key scrambles the email, while the corresponding key that the recipient has unscrambles it upon delivery. That way, only you and your correspondent can read the emails.
How Can You Encrypt Your Emails?
Now that you know what email encryption does, we can move on to how you can set up your own encrypted email.
Here are all the tips you can use.
Employ TLS and SSL Protocols
We’ve already mentioned the TLS protocol and examined how it works. Similarly, the SSL (Secure Sockets Layer) protocol also secures the channel of communication—it is just the older version of TLS.
Regardless of which one you opt for, it is essential to configure your email server software to support both TLS and SSL.
Then, you should download and install a TLS or SSL certificate. Though it is possible to buy one yourself, it is always better to rely on your hosting or email provider.
Namely, all reliable hosts include SSL protection with their plans, and they obtain the certificates from trustworthy Certificate Authorities (CA).
By leaving it in their hands, you’ll know that you have the best possible protection while your emails are in transit.
Set Up PGP Encryption on Your Existing Email
If you prefer to keep your existing Gmail or Yahoo account, you can add encryption through PGP. This option gives you more control but requires a bit of legwork.
Step 1: Install an email client
Webmail interfaces like Gmail’s website don’t natively support PGP. That’s why you’ll need an email client such as:
- Thunderbird (recommended, free and open-source)
- Outlook (with plugins)
- Apple Mail (with plugins)
Step 2: Generate your PGP keys
As we have already mentioned, PGP uses two keys: a public key (shared with others so they can send you encrypted mail) and a private key (kept secret and used to read your messages).
Your email client or plugin will usually provide a simple way to generate these, so you should just follow their instructions.
Step 3: Share your public key
To allow others to send you encrypted emails, you need to give them your public key. This can be uploaded to a key server or shared directly.
The first option is better, as it is smart not to share your private key with anyone.
Step 4: Verify recipient keys
Before sending an encrypted message, you’ll need your recipient’s public key.
Verifying that it’s really theirs (through a trusted exchange, a fingerprint check, or a key server) helps prevent impersonation attacks.
So, make sure you do all the necessary checks before starting the email exchange.
Step 5: Send and receive encrypted emails
Once everything is set up, your client will handle the encryption and decryption automatically.
Messages to people with a public key you’ve imported will be fully encrypted, and their replies will be decrypted on your device.
Although this process may feel complicated at first, once configured, it will become a regular part of your normal email routine, and you will get used to it.
Set Up S/MIME (For Business Environments)
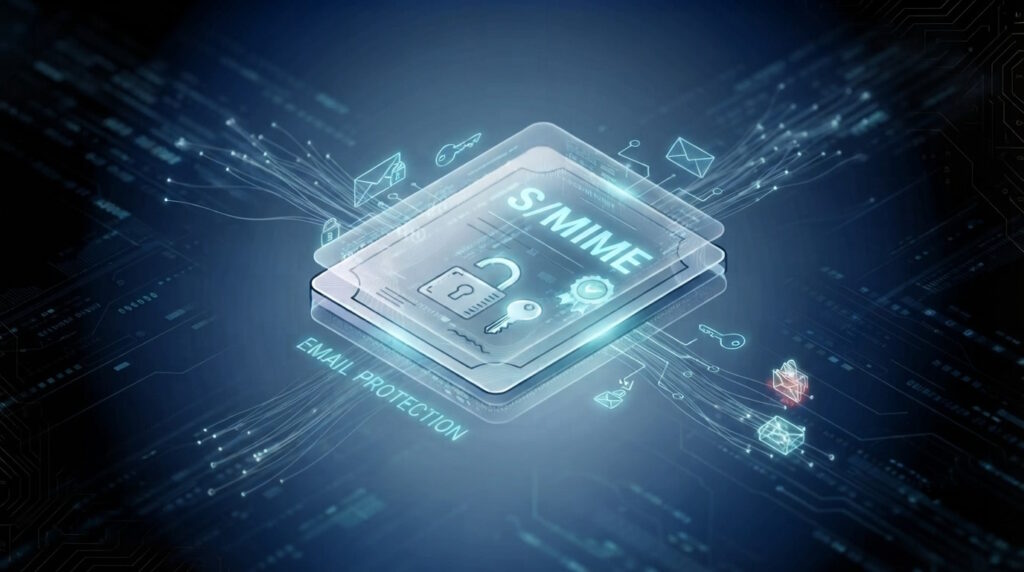
S/MIME works similarly to PGP but is often preferred in corporate environments because it integrates easily with Microsoft Outlook, Apple Mail, and other enterprise tools.
Instead of generating your own keys, here you obtain a digital certificate from a Certificate Authority.
Step 1: Obtain a certificate
Purchase or request a free S/MIME certificate from a trusted CA. Some organizations provide certificates to employees directly, which would make things easier.
Step 2: Install the certificate
Follow the instructions from the CA to install the certificate on your computer or device.
This links the certificate to your email account, so it is extremely important.
Step 3: Share your certificate
When you send your first signed email, your certificate (containing your public key) is automatically shared with recipients. They can then use it to send you encrypted emails.
Step 4: Send and receive encrypted messages
From here, your email client handles the process. Just as with PGP, messages will be encrypted using the recipient’s public key and decrypted with your private one.
Though S/MIME can be easier for teams because the process is more automated, it requires trust in the CA and is often tied to organizational systems.
Opt for a Trusted Provider With Email Encryption Plans
In case all the steps above sound way too complicated, finding an email or hosting provider that offers you all the encryption certificates outlined above is your best bet.
That way, you can focus on sending emails and growing your business without having to worry about the technical details.
All reliable providers—Abelohost included—offer SSL and TLS certificates with hosting plans, domains, and email services.
If you want to take things a step further, providers that specialize in email services are the way to go.
Options such as Proton Mail or Tuta are built with encryption at their core. They handle the technical details for you and are often the easiest way to get started.
By picking a safe provider, you’ll be able to get started a lot quicker and know that all your communications are safe from the get-go.
Conclusion
Email encryption may sound technical, but it has become much more approachable thanks to modern tools and services.
Whether you go with a secure provider like Proton Mail for simplicity or dive into PGP or S/MIME for greater control and compatibility, you’re taking an important step toward protecting your privacy.
We also have a guide on setting up an email on your domain in three of the most commonly used control panels for those who are just starting out.
In an age where online security is constantly under threat, securing your email is no longer optional but entirely essential.
Author
Monica Jansen
Monica Jansen is a seasoned tech writer focused on web hosting and cybersecurity. She loves doing deep dives and whittling down difficult topics into simple and succinct concepts. Whether she is covering firewalls or different hosting plans, she always strives to provide clear guides that website owners of all skill levels can follow.
Add your comment
Get content delivered straight to your inbox
Your data.
Your choice.
Work with the best of the best — your projects deserve it.